4×4 Day 1: EarthTainer
By Matthew Rader on Day 1, January 2011
Growing up in farmtown Ohio I was completely spoiled by having plenty of wide open space to garden in. I remember meticulously planning my gardens on graph paper all winter waiting for that last frost to start a new growing season. When I moved to the city I had to give all that up but last summer I started a rooftop garden with my partner Pamela. We had two 4×4′ raised beds and grew everything from tomatos and peppers to corn, carrots, and pumpkins. It was more an experiment and a hobby than anything that provided any serious sustenance.

Rooftop gardening brings with it many untraditional variables. Temperatures are much higher on shiny rooftops which leads to high evaporation rates and even leaf scorching. The other destructive problem is wind. 50-75mph gusts during summer storms are not uncommon and can be disastrous. During the Brooklyn tornadoes last summer the winds were so strong that most of our epic tomato plants branches were snapped like twigs even after being heavily secured. Regardless of the challenges it was still fun and seemed to light a fire under me fueled by nostalgia and a green thumb.
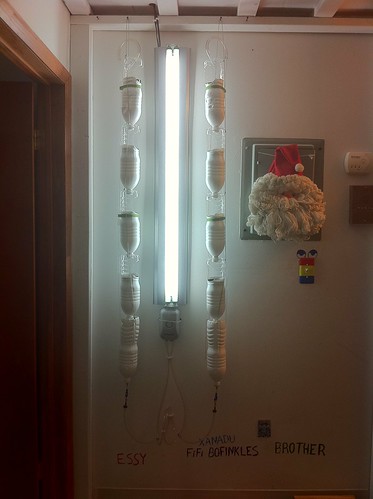
This winter, while waiting for the spring to come, we set up a hydroponic WindowFarm. We are using complete artificial light with a 4ft T8 fluorescent strip light with 6500k bulbs.
It’s only January but it’s about time to start seedlings for spring and to think about garden plans for this year. We’ve decided that we are going to try out SIP (sub-irrigated platers) gardening. Essentially what you are doing it creating a container garden from rubbermaid totes. There is a reservoir of water in the bottom of the tote that you fill by a pipe that sticks above the soil line. Water is drawn up from the reservoir by a wicking capillary action. The advantages of SIP gardening are water conservation through less evaporation – perfect for rooftop gardening. Brooklyn’s own Bob Hyland has been an inspiration for this project along with GlobalBuckets. For this project I am following the instructions put together by EarthTainer. They have an awesome tutorial on how to build your own that is infinitely more detailed than what I’m going to show you below. Here are a few pics of my process:
Purchased:
Two 30 gallon totes, 1.5″ PVC pipe, Smaller tupperware container, various screws.
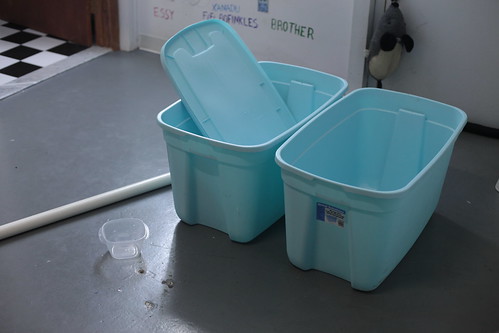
First I measured and cut off the top of one tote per EarthTainer instructions with my handy dandy dremel.
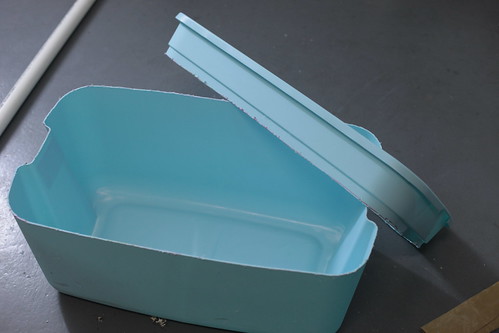
I cut up the top of the tote I just decapitated to make a base for support. This will make sense once we drill holes on the interior tote and secure in inside the other.
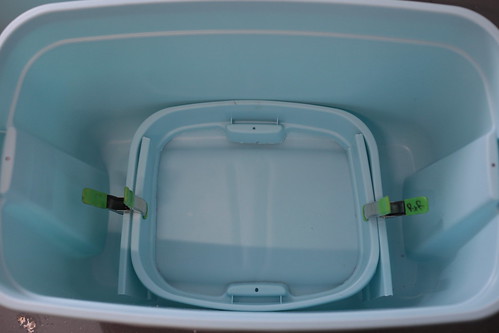
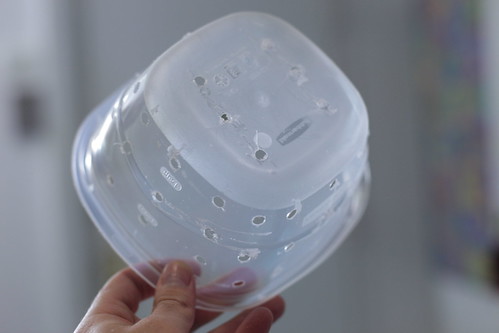
This is a wicking basket that I made from a plastic tupperware container. The wicking basket is going to connect the water reservoir to the rest of the dirt in the SIP. Through capillary action the dirt in the wicking basket wicks up water. I drilled it with a bunch of holes to let water in to the potting mix.
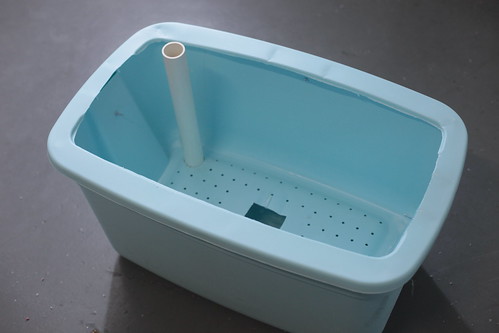
This is essentially the finished EarthTainer complete with filling water pipe. The initial tote we cut up goes inside of the other tote and sits on the base we made. The wicking basket is tied with zip ties to the bottom of the interior tote and a bunch of holes are drilled for aeration. All that is needed is potting mix in the spring and plants. <3
Construction of your SIP isn’t an exact science and there is no “official way”. If you want a commercial product, check out EarthBoxes. Going forward I think that I’m going to try converting last year’s 4×4′ raised bed’s with corrugated pipe into SIP plots. People get real creative using all kinds of materials and create SIP’s out of everything from buckets and recycled milk bottles to actual cloth tote bags. If you like gardening, you don’t have to give it up just because you live in a city. Please do a little googling if you are interested in EarthTainers. Other people have put together much better guides than I could. :)
<3 rader
January 18th, 2011


Leave a Comment
Trackback this post | Subscribe to the comments via RSS Feed