Atari ET Cartridge 3D Model: my first Blender project
By Greg Borenstein on Day 3, March 2010
For day 3 of the 4-in-4, I made a Blender model of an Atari cartridge, specifically, “ET: The Extra-Terrestrial” from 1983. This model is the first step on a large project I’m undertaking: a diorama depicting a hoard of millions of ET cartridges buried in a dump outside of Alamogordo, NM.
When Atari undertook the design of the game, they expected wild commercial success. The whirlwind development process was designed to capitalize on the incredible popularity of Steven Spielberg’s movie. Unfortunately, it also lead to an extremely poor level of quality in the final game, which was boring, confusing, and featured abominable graphics:
The result was millions of unsold cartridges that the company had no way to dispose of. Eventually, the hit on the solution of burying the cartridges in a dump outside of Alamogordo, New Mexico.
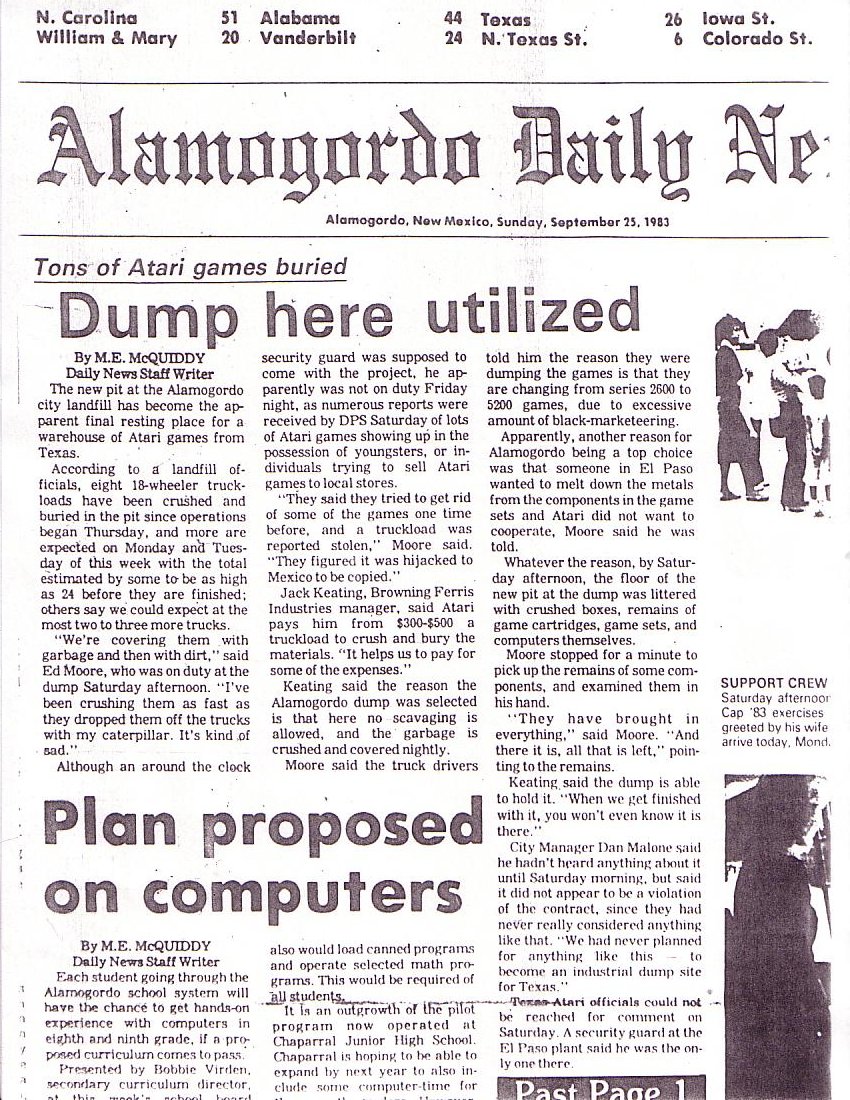
I first heard of the dumping from Nick Montfort’s excellent history of the Atari 2600 Racing the Beam. For more on the topic, see the Wikipedia and Snopes articles on the topic.
This 3D modeling project is the first step towards building a diorama depicting the full dump with millions of cartridges, the concrete slab that covers it, and the New Mexico dessert and sunset above.
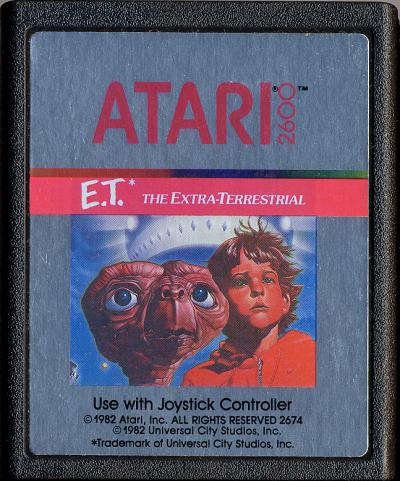
To start out, I searched out high quality scans of the Atari cartridge online. I ended up finding them on Atari Age. Here, for example, is the front of the cartridge:
I used these high resolution scans and some other research to figure out the dimensions of the cartridge and set about building a basic rectangular solid that matched these dimensions.
I used Blender as my 3D modeling tool of choice on the recommendation of Scott Wayne Indiana. With lots of help from Scott, I managed to get going with the basics in Blender and, eventually, I had a rectangular solid with the right proportions:
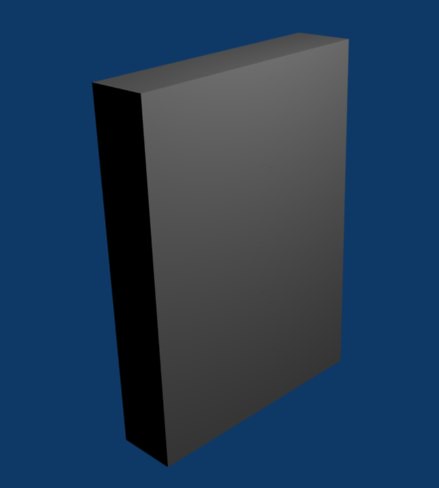
(Note, both Scott and I found Super3boy‘s Blender tutorials to be incredibly useful in the process of getting started with this complicated program. It’s both humbling and really helpful to learn by listening to a bunch of tutorials narrated by a kid who sounds like he’s about 7.)
After I had that down, I started working on adding the cutaways for the stickers on the top and front. Using Blender’s “add difference marker” functionality, I was able to use separate rectangles to carve those out from the original slab. Then, finally, I added a bevel to the edge of the cartridge to simulate the roundness of the original:
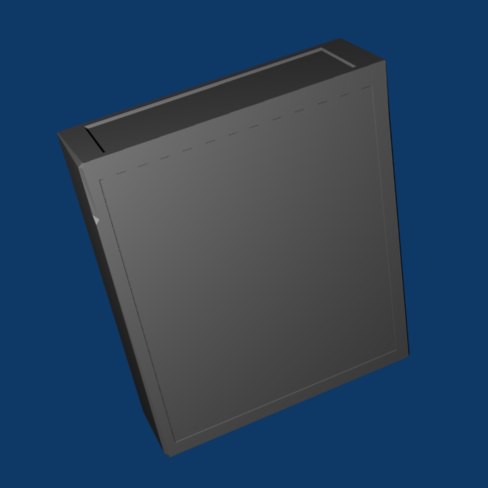
Writing down this process in a few simple sentences makes it sound linear and straightforward. It was actually difficult and somewhat challenging. Without Scott’s help, the entire endeavor would have taken significantly longer.
Once I had the basic shape of the cartridge worked out, it was time to try to add the graphic stickers to the top and side. After an initial attempt to navigate Blender’s nest of menus (aided by this tutorial on textures in Blender) I eventually managed to map the image all over my entire object:

This was not quite what I wanted, but it was exciting to see an image actually appear for the first time. Eventually, I found the Blender wiki tutorial on multiple materials which explained how I could apply an image to just one specific surface of my object. This also made the Blender menu system start to make sense to me for the first time (by explaining the way selections made in certain menus modified the options available to you in others.) The result was a cartridge that was really starting to look right:
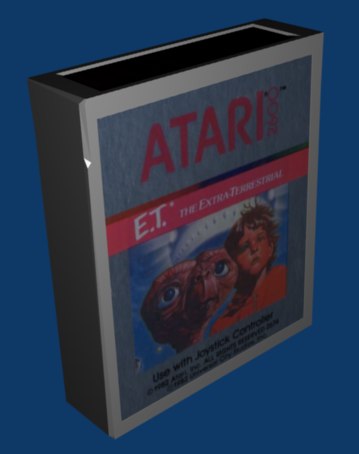
The end cap should have the ET logo image on it — which isn’t working for some reason I don’t understand — but otherwise this is really starting to be what I was aiming for. I even added an additional gnarled black texture to emulate the molded plastic of the non-sticker part of the cartridge. I’ll probably include that texture in the final print, but I’m not showing it here because it made it very hard to see the details of my 3D modeling in Blender’s preview images.
There are two next steps forward for me on this project. One of them is to get a 3D print made of this cartridge, mainly to gain experience with 3D printing. The second step is to make a model of the ET box and start combining multiples of that box and this cartridge into the limitless pile that sits under the Alamogordo sand.
March 16th, 2010

1 Comment
Add your own1. Morgen Fleisig | March 17th, 2010 at 9:54 pm
I am very concerned that by creating this you will initiate an earthquake that will plunge us into the 4th dimension.
I’d say there’s a 50-50 chance of that happening. Those are large odds my friend.
Leave a Comment
Trackback this post | Subscribe to the comments via RSS Feed