EcoFabulous Wallet
By Robert C. Moon on August 2008, Day 1
So my partner, Stella who I planned to work together for the first project but had the horrible misfortune of losing her precious laptop (not her fault), so she had to drop out, which left me with a free day to come up with something new. I’ve struggled all Sunday night, trying to plan something with no luck at all. I’m not much of a planner anyways, so I place most of faith on my commute to ITP to be inspired by an idea.
A few days ago, my father recently gave me a new tri-fold leather wallet, to replace my previous wallet taht was falling apart. The main reason of it’s demise was the fact that the wallet was leather and after years of abuse, like jumping in the ocean with my wallet in my pocket (by accident), the material just gave out at the seams. The wallet my father gave me was also leather, smaller and a bit thicker than what I am used to, so for today’s project, I will be designing and constructing a thinner waterproof bi-fold wallet.
I thought it was appropriate to have Bre Pettis as our guest today, since I was inspired by his earlier podcast of using plastic bags in layers as materials to build a messenger bag. His podcast can be viewed here. I will use a similar method of using plastic bags so my wallet will be waterproof. I did some research online for possible design ideas, but ended up deciding for a clean four pocket wallet.
So here are the steps to create my EcoFabulous Wallet.
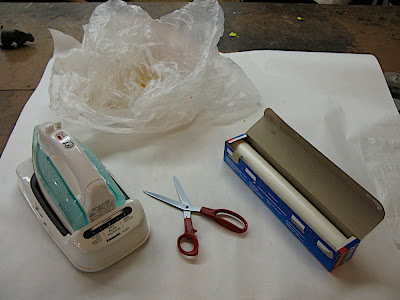
Step 1: Gathering Materials
Here are the tools and materials I used to make my wallet. An iron, scissors, plastic bags and wax papers. The tools that are not shown above are an exacto blade, cutting board and ruler (or any straight edge to cut straight lines.)
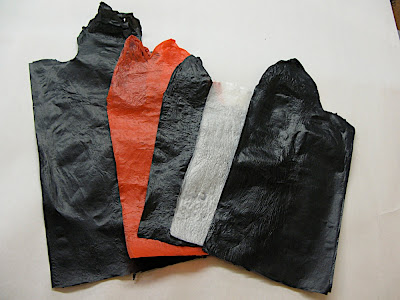
Step 2: Prepare Materials
I cut the bottom of the plastic bags and then folded the bags in half (there should be 4 layers of plastic). I placed the folded plastic bag between two sheets of wax paper and ironed the top of the wax paper on a low heat setting. There is no need to press down hard, the plastic will form a strong plastic sheet. Warning: melting plastic releases some fumes, so be sure to iron in a well ventilated area.
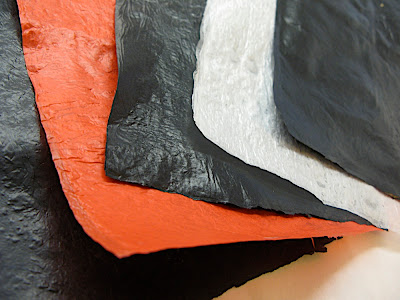
Melting the plastic bags between wax paper created a nice texture. Be sure to use different color plastic bags to increase the cool factor.
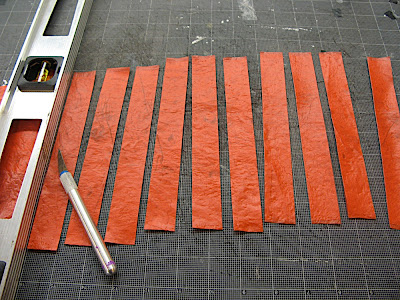
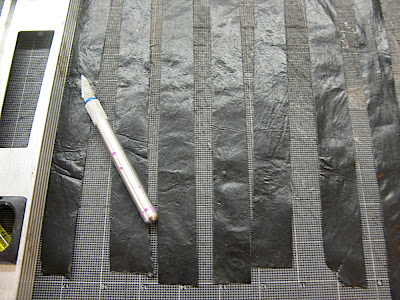
Step 3: Cutting the plastic sheets in 1 inch stripes
I used a cutting board, a straight edge and an exacto blade to cut 1 inch strips to be used in the pattern. Be sure that one of your colors are cut long-wise (the length of your wallet opened). I learned the hard way, but I would advise weaving the strips on top of wax paper because it is difficult to move onto the wax paper and all your hard work of tighening the week would go down the drain.

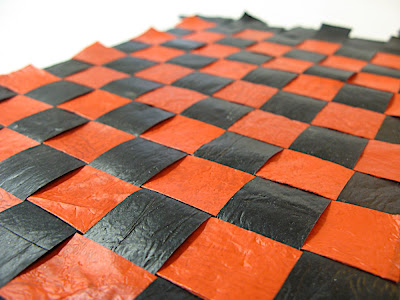
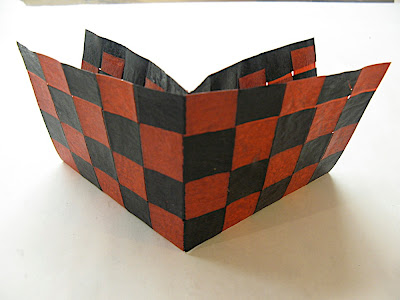
Step 4: Weave the strips of color plastic to form a cool checker pattern. Be sure to tighten the strips together so there are no gaps.

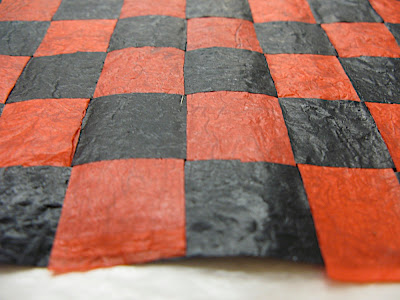
Step 5: Place the woven strips between two sheets of wax paper so that it becomes one solid woven sheet. Be careful not to over heat it or the wax paper will stick to the plastic. It’s a pain to get out. Sometime you’ll see that not all strips are melted together so just put back the wax paper and iron it again. Be sure to iron both sides too because the iron will not be hot enough to melt the bottom layers. It should look something like the photo below. I personally like the wrinkled texture. Kind of looks like leather.
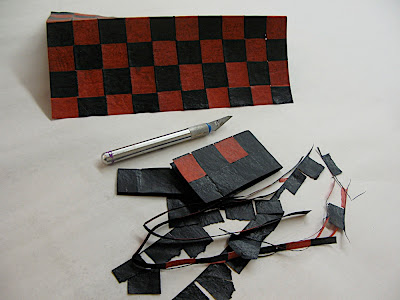
Step 6: Cut the excess rough edges
Use the exacto blade and ruler to trim the woven sheet into the dimension of the wallet. Remember to leave room to fold the bottom of the wallet. I roughly measure my wallet 10 inch wide unfolded (5 inch wide folded). This is enough for 4 pockets for credit cards.
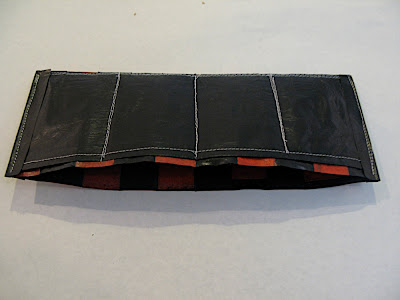
Step 7: Sewing the pockets and edges
I cut a piece of black plastic the size of the width/height of the wallet. I folded the top lip to form a hem which makes it easy to pull out inserted cards. Careful measure out 4 equal pockets so that the same size credit card can fit in all the pockets. I also added a small skinny strip of black to tighten up the edges of the wallet.
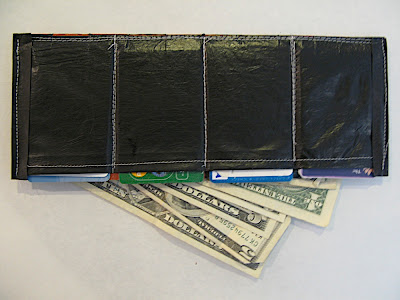
Step 8: Populate the wallet with money (preferably Euros)
If all went according to plan you should have money in the sleeves and credit cards in the pockets. I actually made the dimensions of the wallet big enough to populate it with Euro bills as well.
I had tons of fun designing/making this wallet. It took me a total of 3 hours from start to finish and cost nothing to make (I had access to a lot of the tools but they are pretty common to find among friends). If I was to build this again with the knowledge I have now, I would definitely make more room between the two middle pockets so the wallet can naturally shut on it’s own. I would also try to add a clear pocket on the outside for a visible ID so I wouldn’t have to pull out my ID to get in and out of school.
July 29th, 2008

3 Comments
Add your own1. Jaki Levy | July 29th, 2008 at 12:06 pm
i smell an instructable…(or is it burning plastic?)
2. Bre Pettis - Etsy Street:&hellip | July 31st, 2008 at 4:08 am
[...] also had the chance to interview Robert Moon about his ecofabulous wallet, Adam Parrish about his pixel linocuts, and Joshua Berry about his summer mittens. This is just a [...]
3. Robert Moon | August 16th, 2008 at 8:00 pm
Hey Emilie, if you have any question, I’m sure it can help someone else so why don’t you post the questions here and I can answer them for others to learn as well. Thanks your interest.
Leave a Comment
Trackback this post | Subscribe to the comments via RSS Feed